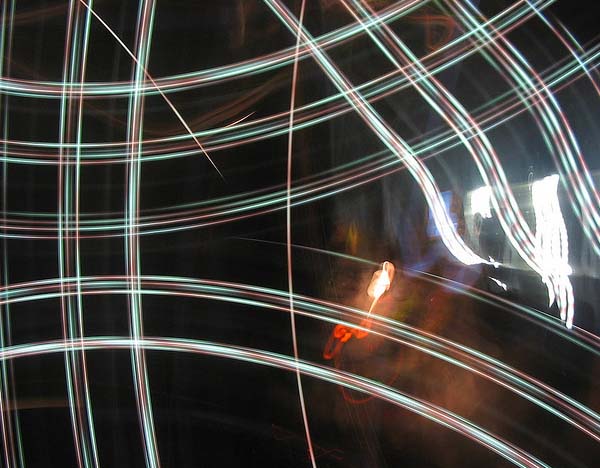
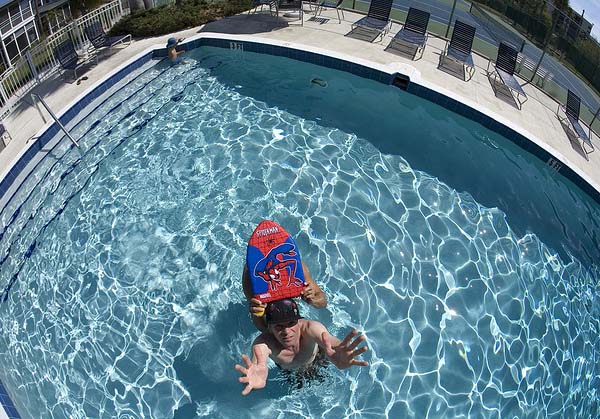
For most people, the idea of literally tossing your camera up into the air to take a picture probably sounds way too risky, but that’s exactly how a number of photographers are getting some of the coolest, craziest pictures you’ve ever seen.
If you look around the web, the vast majority of the camera toss pictures you’ll see will be abstract trails and swirls of light, but this isn’t the only kind of photo you can take. Some people have gotten amazing perspective shots of themselves on the ground, or never-before-captured images of buildings.
You may be interested in the following modern trends related articles as well.
- Best 35 Photos Taken At The Perfect Time
- Photo Manipulation Examples That Will Blow Your Mind (40 Photos)
- 20 Breath-taking Night Scenery Photography to Inspire You
- 25 Heart-Touching Beautiful Photographs
- 50 Remarkable Examples Of Typography Design
Please feel free to join us and you are always welcome to share your thoughts even if you have more reference links related to other tips and tricks that our readers may like.
Don’t forget to
subscribe to our RSS-feed,
follow us on Twitter — for recent updates and follow us on Google+
.
Ready to try for yourself? While there are few hard and fast rules, you should be aware of a couple of things before you get started.
1. Keep yourself (and your camera) safe. “Safe” may be a strange term to toss around when we’re talking about tossing your camera, but do what you can. In general, tossing it up in a well-lighted area free of distractions makes it easier to catch. If you don’t trust your catching abilities, you might want to work with a net, as it were. Using a trampoline to “catch” the camera could help, as could a large sheet if you have several people holding it. Above all, take care not to hurt yourself by having the camera whack into you on the way down.
2. Set up the controls. You’ll need to manually set your camera’s timer or exposure, and then press the shutter button before you toss. Doing this manually is often better because you can alter things like f-stop and timing as you go.
3. Space lights out. Too many people just get a bunch of lights or candles and clump them together when setting up these shots, but if you do that, the lights will all just bleed together. Remember the rule of threes (revised) and keep them at least three inches apart while placing the camera three or more feet away.
4. Spin matters. You know how baseball players put different kinds of “spin” onto the ball to produce different effects? Well, using a variety of techniques when camera tossing does the same thing with light. Spinning on the camera’s axis creates spirographs, while an end-over-end throw will give you patterns that are more linear.
5. Eschew the spin. Spinning is great for darker shots where you’re focusing on specific light sources, but what about those daytime self-portraits from way up in the sky? The best way to do those well is to avoid spin at all. After all, your goal is to get a clear shot of you, so just toss that camera straight up and hope you got the timing right!
Images source: Flickr.com


[…] Design Junction published a post Get a High! 5 Secrets To Camera Toss Photography For most people, the idea of literally tossing your camera up into the air to take a picture […]
[…] 5 Secrets To Camera Toss Photography […]
Fine way of describing, and nice post to get data about my presentation topic, which i am going to present
in institution of higher education.
[…] there is an obvious opportunity in sports or high speed photography to emphasize the movement of participants – almost every type of photography can benefit from […]