In common terms, prototype can be anything from a sketch on a piece of paper to a highly sophisticated model. However, in traditional IT terms a prototype is referred to as an interactive or clickable interface built to allow users navigate from pages and menus to assess its functionality. It’s a mock-up or demo for the user to acknowledge its functional correctness against what is expected to come from it.
In the software development terminology, Prototyping means building a fundamentally acceptable model of a product or information system that helps demonstrate its functionality. It is then tested and reworked to the extent of perfection until it is capable of production stages.
Prototyping model involves making a systematic approximation of the requirements in a project and using an iterative approach to make trial-and-error methods until a suitable product has been achieved by the developers for the users. As you will further read this article you will learn the types of prototyping, their methods and how they impact on a project on certain requirements.
What are the 4 Prototypes?
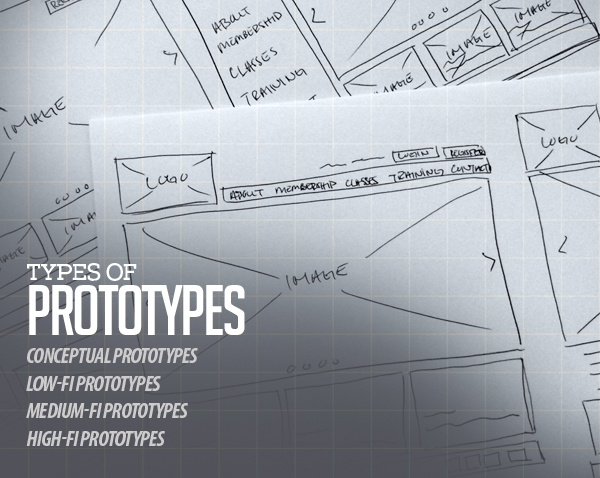
The need for prototypes in the website design industry is off the ceiling these days. Nothing goes past prototyping before it is officially added to a live website. It has become an essential part of web design process because it helps the 3 stake holders (designer, client and user) to mutually agree on the building plans of a project as schemes, drawings and wireframes etc. However, for different needs and capacities of projects there are different types of prototypes.
Conceptual prototypes
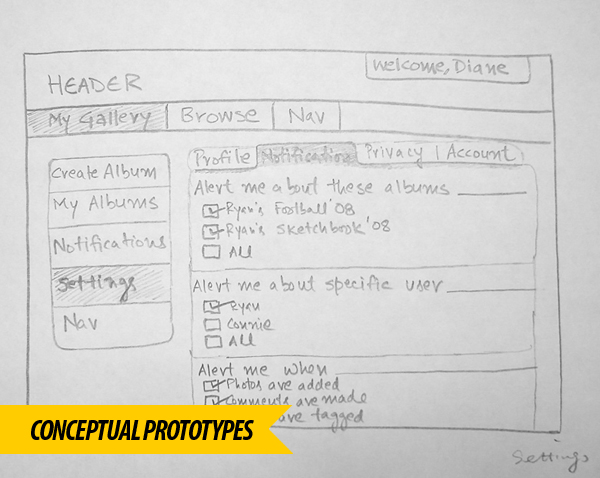
Conceptual prototypes don’t show how the final product must look like, but rather focus on the interactive and the functional concepts of the interface. This is hardcore prototyping in its rawest forms because it shows how something works without expanding its details. It can be an image with charts, PowerPoint presentation, video tutorial and even the recording of you doing the explanation. It can be almost about anything as long as they are delivering the goal to the client.
Low-Fi Prototypes
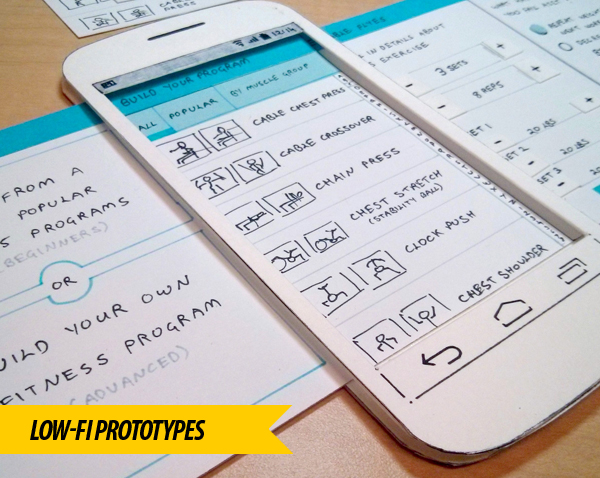
This is where you start developing the self explanatory elements within a prototype. However, Low-Fi Prototypes has a very controlled purpose in the designing industry. The aim is to deliver to the client neat and fast so that the sample can be easily discarded. It’s a disposable prototype that integrates the tangible concerns of a design such as template, screen size and layout etc into a clickable interface. Low Fidelity Prototypes are easy to make and quickly give the client a midrange overview of their project to initiate further development.
To get started you can use this Low-Fi Prototypes guide from Smashing Magazine to learn how to create and use Low-fidelity prototypes.
Medium-Fi Prototypes
For those developers and clients that need a more detailed explanation of the project with higher level of interaction and navigation, Medium Fidelity Prototypes are just the thing to start with. Medium-Fi Prototypes are far more refined than Low-Fi prototypes and are capable of neatly delivering a design phase with nearly every element of required for a complete UX. These are mostly staged through a CSS framework but are also HTML based. Developers often use prototyping tools to enhance the functionality and overall appearance of the prototype such as Yup and Bootstrap. Stock elements within these tools allow the prototype to achieve an optimum performance level for the user.
You can take help from this guide from Webdesigner Depot to get a few good tips for a head start in medium fidelity prototypes.
High-Fi Prototypes
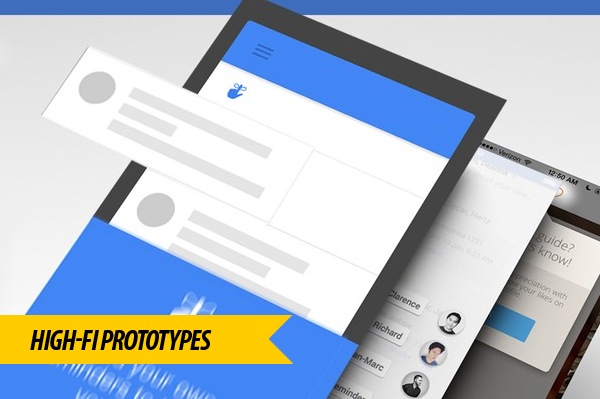
High-Fi prototypes are final signals for the Developer, customer and user to start with the production of the web design or software. Everything that has been added and illustrated in the conceptual, low and medium fidelity prototypes is combined by integrating them with back-end-code. High-Fi prototypes are a complete document of the customer’s ideas embodied into an interactive interface to be tested by the users. It’s done mostly by using static HTML and CSS or otherwise apps to combine the images and videos into a clickable pseudo interactive platform to mimic the featured functionalities.
This prototyping guide contains more information than you can handle because the people behind UXPin have been very thorough to create detailed high-fidelity prototypes.
Prototyping Methods
1. Video or Presentation Prototypes
These prototypes are built for conveying the idea to the client through a strong commercial formula backed by a sales pitch within. They start by presenting a problem which the client is aware of, followed by a selling solution. Any ornamental modification such as animation, music and even a mascot doing a break-dance is entirely up to your discretion, otherwise there are mostly icons, text and mild illustrations.
2. Wireframes
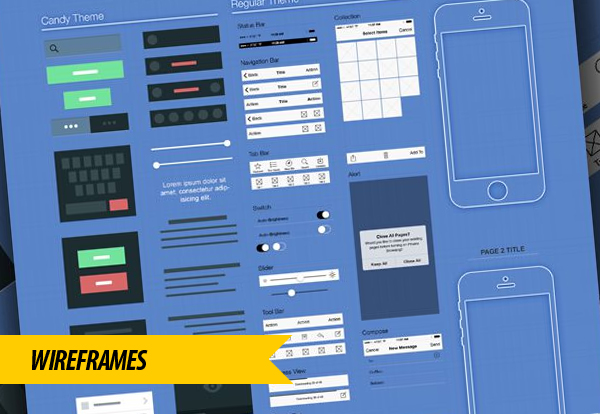
Wireframes are mostly confined from low fidelity to medium fidelity prototypes if you put enough effort into them. They are often sketched on paper and disposed right after they are drawn. They are pretty awesome for a short span prototype because nothing beats the speed of sketching and the freestyle depiction of ideas on paper. However, preparing them in apps has other great advantages such as precision, interaction and accurate mimicry of interface functionality.
3. Paper Prototypes
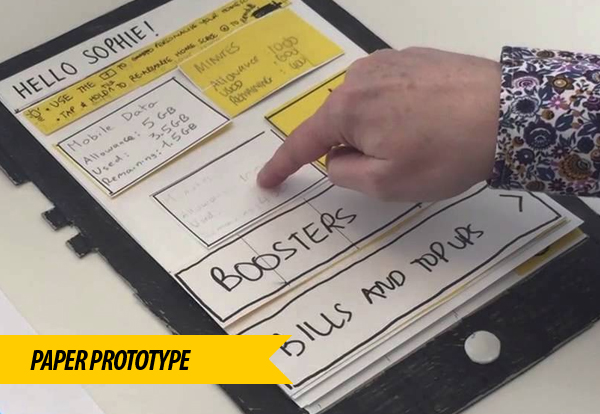
Unlike wireframes, paper prototypes are all about delivering a physical experience through paper. They are not origami models though, but with extensive detailed and highly elaborated designs of the interface the user can easily get the swing of the UX. Pieces are cut out and pasted on paper to stimulate the UI design and give the user a tactile sensation. It also helps the architect to edit them anytime easily by discarding the cut out and pasting a new one without crumpling the entire sheet.
4. Medium to High-Fidelity Prototypes
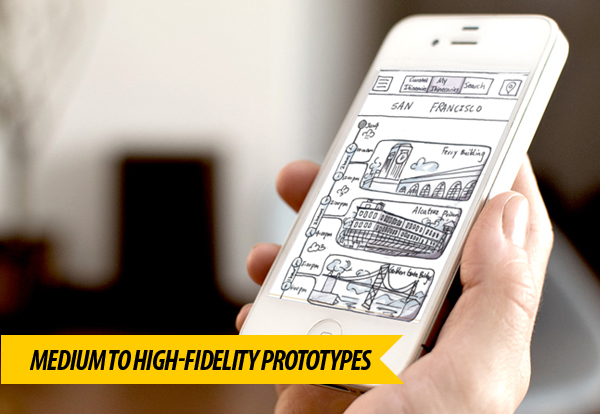
These prototypes are screened after assembling their predesigned interface elements together through and app or interface. Medium and High Fidelity prototypes have the ability to arouse the user and give a tangible demonstration of what the final product is expected to look like. They translate the functionality through an interactive interface and mimic the precise functions of the finished product. If you manage to sell this to the user, your product will be a big hit!
5. Adding with Codes
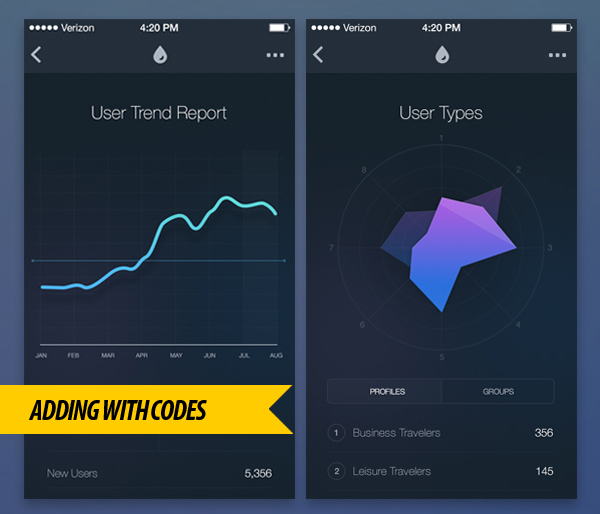
The main purpose creating a code based prototype is the magnitude of details that simply cannot be expressed on paper or videos. When we are talking about hundreds of buttons and clickable functions, any prototype you pick wont just do, especially when its web design projects. Then after you have a favorable feedback through UX, you can use same code or add improvements to integrate for the final product.
6. Using Frameworks for Prototyping
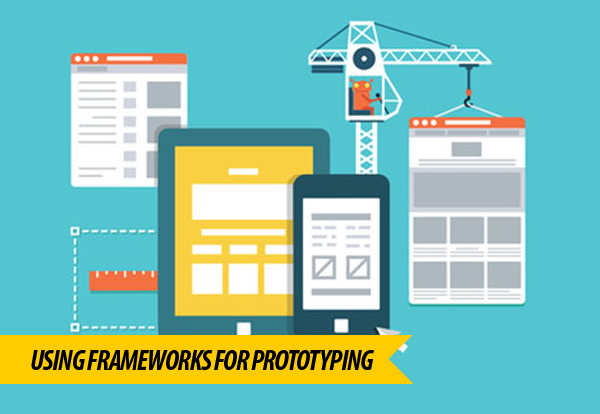
It adds convenience to the process as most developers adopt frameworks that suit best for the product. If the product is doing well then you don’t need to change the framework and instead, you can go ahead with it, which saves tremendous amount of coding procedures. The top frameworks for the prototyping are Bootstrap, Foundation and Boilerplate.
Prototyping Tools
Now that you have the idea, let’s start moving towards building prototypes by choosing the right tools. Before you choose, you should keep in mind the scale of your prototyping project (conceptual, low, medium or high fidelity) and the features you need. Below are some top rated Prototyping tools you can choose from.
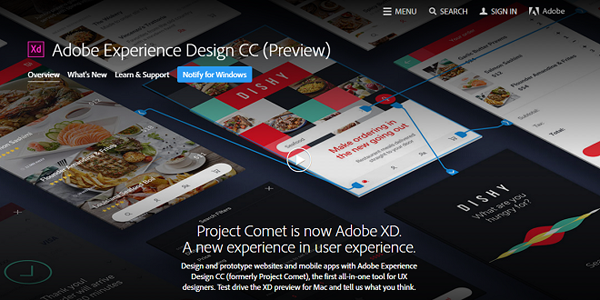
Adobe Experience Design CC
It’s just been released and is Mac only. You can not only make wireframes but also design your prototype without using another application for it.
Presentation software
It is mostly restricted to making conceptual prototypes. It allows Microsoft PPT, Apple Keynote, and Google slides to link together for milt interactivity.
Mockplus is a free online wireframing tool that allows you to easily create from outlines, design flows and ideations to fully interactive wireframes.
With its intuitive drag-&-drop builder, and tons of ready-made components, icons, and templates, you can wireframe and prototype anything at lightspeed. It offers a forever-free plan and its paid plans start at $10.95 per user/month.
Used for High-Fidelity prototyping especially for adding elements such as animation, embedding, device demos and multimedia.
Also creates High-Fidelity prototypes for applications and Website UIs. You can get your demonstrations in short time with this framework.
It is among the top guns of prototyping. Supports Drive sync, internal sketching and Photoshop, embedding and Dropbox.
For low, medium and high fidelity prototyping. It is recommended for large parties and corporate users who need their own project management and documentation.
Conclusion
Originally the term prototype roots from the sampling of models for a product to test its full ability into achieving efficiency. Prototypes must not be considered as analogue of the final product because they are more than that. Aside from their trial-and-test methodology, it allows the designer, customer and the user to verify the productivity and appropriateness of the design and select the most refined of the variants. It explains the essence of the idea before its formation and allows others to see it from their personal perspectives. If a picture is worth a thousand words, a prototype is worth a thousand pictures.
