The world of image editing offers a vast array of tools to manipulate and enhance your photos. One of the most powerful yet approachable techniques is image masking. Mastering masking unlocks a treasure chest of creative possibilities, allowing you to isolate objects, change backgrounds, add special effects, and achieve precise edits in your photos. This comprehensive beginner’s guide dives into the world of image masking, explaining the core concepts, different masking techniques, and practical applications to elevate your photo editing skills.
Unlimited Downloads
Over 1,500,000+ Fonts, Mockups, Freebies & Design Assets

Unveiling the Mask: What is Image Masking?
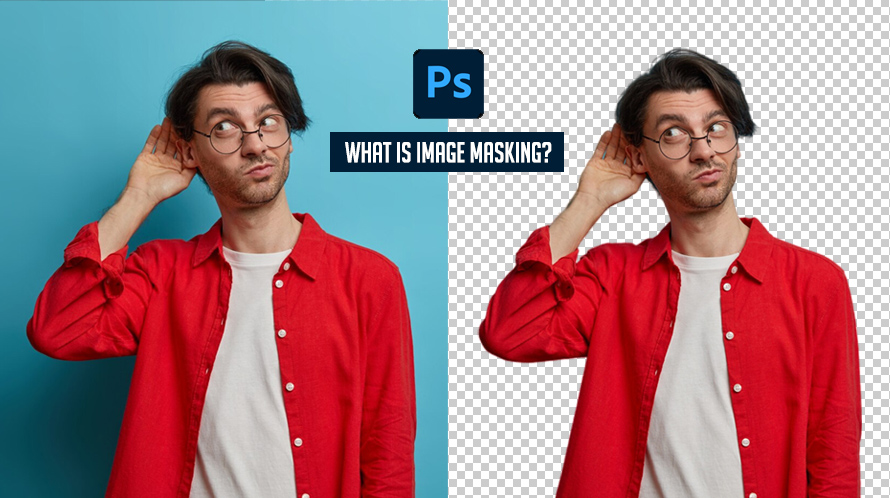
Imagine a digital stencil you can use on your image. Masking works similarly. It allows you to select specific areas of your image, defining a mask or selection that determines which parts are affected by your edits. Think of it like a virtual cut-out tool, letting you isolate objects or areas for adjustments without altering the rest of the image.
Lifting the Veil: Types of Image Masks
There are several ways to create masks in image editing software, each offering unique benefits and applications. Here’s a breakdown of the most common masking techniques:
-
Layer Masks: Often the go-to choice for beginners, layer masks work with layers in your image editor. By painting black (hides) or white (reveals) on the mask, you control the visibility of the underlying layer. This allows for non-destructive editing, where you can always go back and modify the mask if needed.
-
Quick Selection Masks: This technique uses software algorithms to automatically select areas based on color or contrast. While convenient for basic selections, it might require refinement with other tools for precise masking.
-
Color Range Masks: Targeting specific colors within an image is achievable with color range masks. This is useful for isolating objects with a distinct color, like selecting a red flower against a green background.
-
Gradient Masks: These masks create a smooth transition from fully visible to completely hidden areas. This is ideal for creating realistic effects like fading out an object or blurring the edges of a selection.
-
Channel Masks: Advanced users might delve into channel masks, which utilize the individual color channels (red, green, blue) of an image to create precise selections based on tonal variations.
Mastering the Brush: Tools for Creating Masks
Most image editing software equips you with a set of tools to create and refine masks. Here are some key players:
-
Brush Tool: This versatile tool allows you to paint black or white on the mask, defining the selection area. Adjust brush size and hardness for precise control.
-
Gradient Tool: Use this tool to create smooth transitions within your mask. Experiment with different gradient styles for various effects.
-
Selection Tools: Rectangle, ellipse, and lasso tools can be used to create initial selections, which can then be further refined with the brush tool.
Unveiling the Magic: Applications of Image Masking
The possibilities with image masking are vast. Here are some common applications to inspire your creativity:
-
Background Replacement: Isolate the subject of your photo and replace the background with a new one, creating a different scene or adding a creative touch.
-
Selective Adjustments: Apply adjustments like brightness, contrast, or color correction only to specific areas using a mask, leaving the rest of the image untouched.
-
Compositing Images: Combine elements from different photos by masking out unwanted areas, allowing you to create fantastical scenes or photo montages.
-
Adding Special Effects: Utilize masks to create localized effects like blurring a background or adding a glow to a specific object.
-
Removing Unwanted Objects: Say goodbye to photobombers or distracting elements. Use masks to isolate and remove unwanted objects from your image for a cleaner composition.
Embarking on the Journey: Tips for Effective Masking
As you venture into the world of masking, here are some helpful tips to ensure smooth sailing:
-
Start with High-Resolution Images: Working with high-quality photos provides more detail and allows for cleaner masking, especially when dealing with fine edges.
-
Zoom In for Precision: When defining your mask, zooming in on the area allows for pixel-level accuracy and a more refined selection.
-
Feathering Your Mask: Soften the edges of your mask using the feathering option to create a smooth transition between the masked area and the rest of the image.
-
Experiment with Blending Modes: Explore different blending modes once you have your mask created. This allows you to control how the masked area interacts with the underlying layers, achieving various visual effects.
-
Practice Makes Perfect: As with any skill, the more you practice masking techniques, the more comfortable and precise you’ll become. Don’t be afraid to experiment and explore different approaches to masking in your image editing software.
Unveiling the Advanced Techniques: Exploring Beyond the Basics
The previous sections provided a solid foundation for understanding image masking. Now, let’s delve deeper and explore some advanced masking techniques that can elevate your photo editing skills:

-
Refine Mask Techniques: Software often offers tools like “Refine Edge” or “Select and Mask” to improve mask accuracy. These tools utilize algorithms to analyze edges and hair strands, creating cleaner selections, especially for complex objects.
-
Vector Masks: For intricate selections with sharp edges, consider using vector masks. These masks work with paths defined by anchor points, allowing for precise control over selection boundaries.
-
Channel Masking for Advanced Users: While channel masks have a steeper learning curve, they offer unmatched control over selections. By isolating specific color channels and leveraging their tonal variations, you can create highly precise masks for challenging objects.
-
Creating Luminosity Masks: Utilize the brightness information within your image to create luminosity masks. This allows you to target specific areas based on their light or dark values, ideal for tasks like dodging and burning adjustments.
-
Frequency Separation Masking: This advanced technique involves splitting your image into detail and texture layers. Masking on these separate layers allows for selective editing of texture and detail, offering creative possibilities for photographers.
Unveiling the Tools: Popular Masking Software
While the core masking principles remain similar, different image editing software offers variations in tools and functionalities. Here’s a glimpse into some popular options:

-
Adobe Photoshop: The industry standard for professional photo editing, Photoshop offers a vast array of masking tools, from basic layer masks to advanced channel masking and selection refinement options.
-
GIMP (GNU Image Manipulation Program): A free and open-source alternative to Photoshop, GIMP provides a robust masking toolkit with tools like layer masks, quick selection, and color range selection.
-
Affinity Photo: This powerful and affordable photo editor offers a user-friendly interface with excellent masking capabilities, including layer masks, refine mask tools, and live previews while masking.
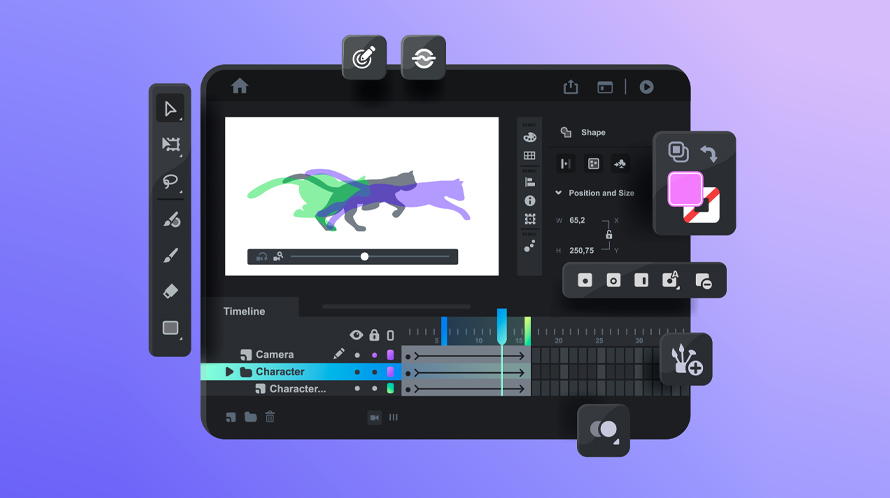
Beyond Stills: Exploring Masking in Video Editing
The power of masking extends beyond photo editing. Video editing software often utilizes masking tools for tasks like:
-
Green Screen Keying: Isolating actors filmed in front of a green screen allows for compositing them onto different backgrounds, creating special effects in videos.
-
Motion Tracking Masks: Track the movement of specific objects within your video and apply masks that follow that movement. This allows for selective effects or blurring of moving objects.
-
Transitions with Masks: Create creative transitions between video clips by utilizing masks to reveal or hide portions of the incoming clip in a visually engaging way.
Conclusion: Unveiling a World of Creative Possibilities
Image masking opens a door to a world of creative possibilities in both photo and video editing. By mastering the core principles, exploring different techniques, and practicing your skills, you’ll gain the power to transform your images, create stunning composites, and achieve professional-looking edits. Remember, the journey of learning is an ongoing process. Experiment, explore, and unleash your creativity with the power of image masking!


")


Great overview of image masking! This guide breaks down the process clearly for beginners. From simple layer masks to advanced techniques, it’s an essential read for anyone diving into graphic design or photography. Well-written and informative!